Skip the reading
Open the PNG → WebP converter
No watermark, no upload, no account. Runs in your browser.
If you have been putting off the PNG and JPG to WebP switch because the cwebp CLI felt like a detour, this is the faster path. Drop your images into a browser page and they convert locally - no upload, no build step, nothing installed.
TL;DR
- Open converter.encodehive.com/png-to-webp in any browser.
- Drop your entire folder of PNG and JPG files onto the drop zone at once.
- Set quality to 85 (or higher for near-lossless), then click Convert to WebP.
- Click Save on each finished file.
That’s it. The files never leave your device.
Why convert to WebP at all?
WebP is 25-35% smaller than an equivalent PNG or JPG at the same visual quality. That gap compounds fast across a page that loads a dozen product images or hero shots. It is also the only common web format that handles both photographs (like JPG) and images with transparency (like PNG), so you can replace both formats with a single pipeline.
Browser support is universal - Chrome, Firefox, Edge, and Safari have supported WebP for years. The one remaining edge case is old IE11 or iOS 13, which are both well under 1% of traffic now.
Keeping transparency
PNG files with a transparent background - logos, icons, cut-outs - convert to WebP with the alpha channel intact. Nothing gets filled in. JPG cannot carry transparency at all, so if your source is a JPG the result is opaque too (that is a JPG limitation, not a WebP one). When transparency matters, always start from the PNG source.
On Windows / Mac
The converter page works the same in Edge and Chrome on Windows, and in Safari and Chrome on Mac. There is no operating-system difference - the WebAssembly encoder runs entirely in whichever browser you have open.
Batch convert images to WebP, step by step
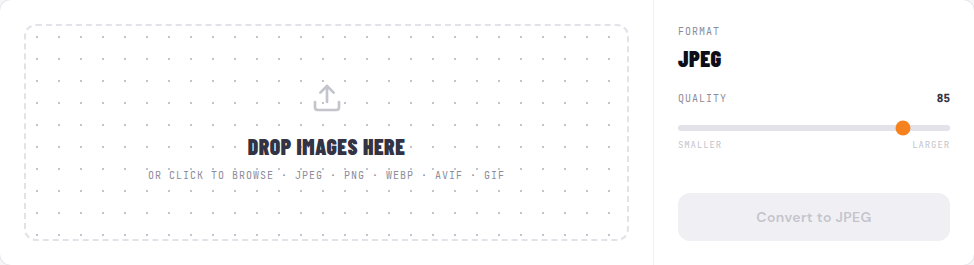
1. Open the converter
Go to converter.encodehive.com/png-to-webp in any browser. No sign-in, no popup.
2. Drop all your images at once
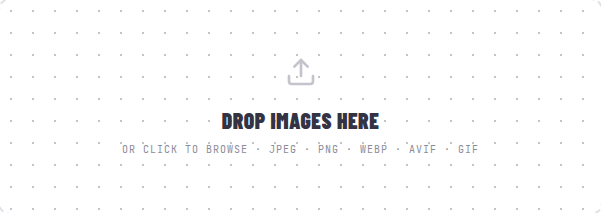
Select all the PNGs and JPGs you want to convert and drag them onto the dashed drop zone (“Drop images here”). You can also click the zone to open a file picker and select multiple files there. Every file lands in the queue immediately.
3. Set the quality and click Convert to WebP
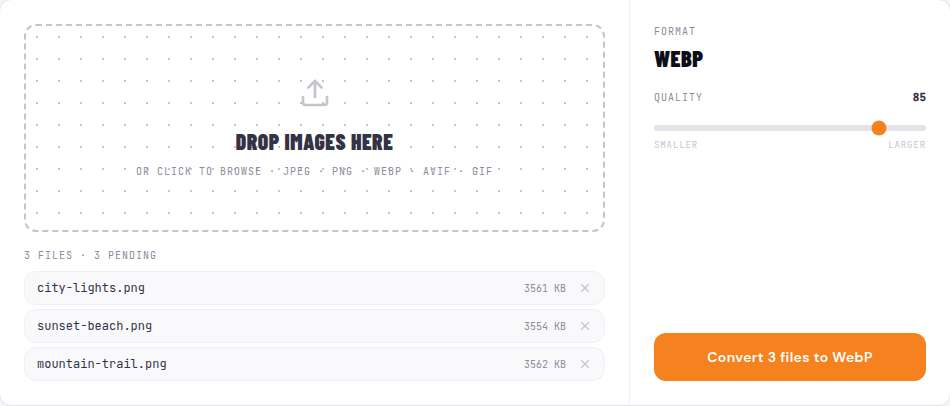
The Quality slider on the right defaults to 85, which is visually indistinguishable from the source on most photos. If you are converting images for a print-preview page or you need pixel-accurate output, nudge the slider up to 90-95 for near-lossless results - file sizes stay noticeably smaller than the PNG originals even at that setting.
When you are happy with the quality, click Convert to WebP. Conversion is local and fast - a batch of 20 images typically finishes in a couple of seconds.
4. Save each WebP
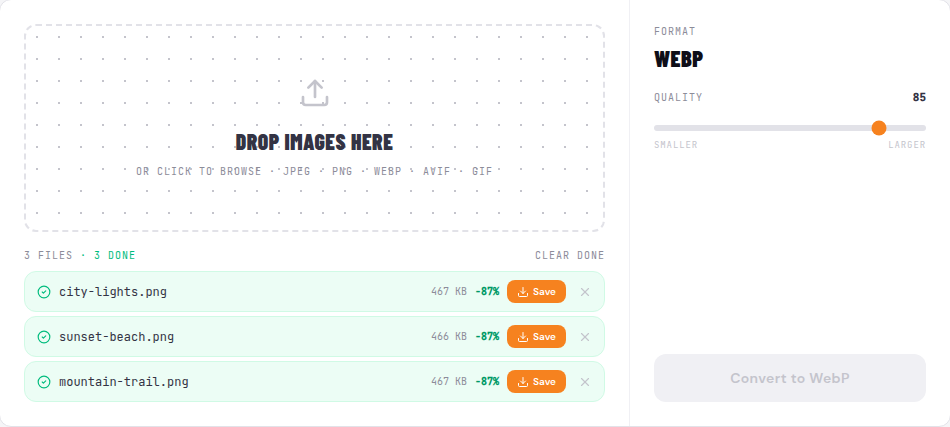
Each finished file shows its new size and a green badge like -31% that tells you how much smaller the WebP is. Click Save to download it. Once you’ve saved everything, hit Clear done to tidy the list.
After saving, drop the WebP files into the same folder as the originals (or into a dedicated /img/webp/ directory) and update your image references. For the smoothest result, serve WebP via a <picture> element with the original PNG or JPG as a fallback, and add the srcset attribute to let the browser pick the right size for the viewport.
Why not cwebp or a build plugin?
The cwebp command-line tool and plugins like imagemin-webp or a Vite/webpack image optimizer are great if you have a build pipeline. They automate the conversion on every deploy and keep your source files separate from the output.
The browser converter wins in two situations:
- One-off folders. You have a batch of images from a client, a photo shoot, or a legacy project. Setting up a build plugin just to process them once is not worth it.
- Non-dev context. A designer, content editor, or site owner who is not running a Node build can use the browser page without touching a terminal.
Both approaches produce identical WebP files - the quality trade-off is the same. And because the browser converter uses a WASM encoder, nothing is uploaded. You can switch on Airplane Mode after the page loads and the conversion still works.
Troubleshooting and quality notes
- Output is larger than the PNG - this can happen with already-compressed PNGs that are small line-art or simple graphics. WebP’s advantage is biggest on photographs and complex images; for a 2KB icon the overhead of the format container can exceed the compression savings.
- Colours look different - check that the source PNG is sRGB, not a wide-gamut or CMYK export. WebP, like JPG, assumes sRGB. Convert the colour profile in Photoshop or GIMP first.
- Transparency is gone - make sure you dropped the PNG, not a JPG copy. JPG has no alpha channel to preserve.
One practical note on dimensions: convert images at the size you will actually serve. A 4000px wide image scaled down in CSS still forces the browser to decode the full resolution. Resize first, then convert to WebP - both the file size and decode time drop significantly.
Related guides
FAQ
Frequently asked
How do I convert PNG to WebP without losing quality?
Set the quality slider to 90 or higher before clicking Convert to WebP. At 90+ the difference from the original PNG is invisible to the eye, and the WebP is still 20-30% smaller. The default of 85 is already visually lossless for photos; only raise it for images with fine detail or sharp text you want pixel-perfect.
How do I convert PNG to WebP in Windows?
Open converter.encodehive.com/png-to-webp in Edge or Chrome, drop your PNG files onto the page, and click Convert to WebP. No software to install - it runs entirely in your browser. Windows has no built-in WebP export, so a browser converter is the easiest option for a one-off batch.
How do I convert PNG to WebP in Photoshop?
In Photoshop 23.2 or later, go to File > Export > Export As, then choose WebP from the format drop-down. For older versions you need the WebP plugin. That path works well when you are already editing in Photoshop - but for a plain batch of files you already have on disk, dropping them onto a browser page is faster and needs no subscription.
How do I convert PNG to WebP in Android Studio?
In Android Studio, right-click any PNG or JPG in the res/ folder and choose Convert to WebP. The IDE converts it in place and lets you preview the quality trade-off. That workflow is great for app assets - for website images you are processing outside Android Studio, a browser-based converter is simpler.
How do I batch convert PNG to JPG or WebP?
Drop all your PNGs onto the drop zone at once. The converter queues every file and processes them one after another - no clicking through a dialog for each one. If you want JPG instead of WebP, use the /png-to-jpg page; the batch behaviour is identical.
Does JPG to WebP conversion keep transparency?
JPG has no transparency channel, so there is nothing to keep - the image is already opaque. WebP does support transparency (unlike JPG), so if you later convert a PNG with transparency to WebP, the alpha channel is preserved. This makes WebP the better replacement for both PNG and JPG on the web.