Skip the reading
Open the WebM → MP4 converter
No watermark, no upload, no account. Runs in your browser.
WebM is the format you get when you download clips from YouTube, Twitch recordings, or screen captures on a Chromebook. It uses VP8 or VP9 video, which most desktop video editors and some players don’t handle well. Converting to MP4 (H.264) makes the file work everywhere.
VLC can do this conversion entirely offline. This guide walks through the exact steps, notes the common gotchas, and shows a browser-based alternative for when you want the job done faster.
TL;DR
- In VLC: Media > Convert / Save, add the WebM, pick the Video - H.264 + MP3 (MP4) profile, set a
.mp4destination, click Start. - Or: open converter.encodehive.com/webm-to-mp4 in any browser, drop the file in, click Convert to MP4, then Download. No install, no upload.
Why you need to convert at all
WebM is a perfectly good format - VP9 rivals H.264 at the same bitrate. The problem is compatibility. Windows Media Player, iMovie, many Android video editors, iPhones, and older smart TVs either don’t play WebM or play it inconsistently. MP4 with H.264 is the universally accepted baseline. Converting once means the file plays everywhere without fuss.
Convert WebM to MP4 in VLC, step by step
VLC is free, open-source, and available at videolan.org for Windows, Mac, and Linux. These steps match VLC 3.x, which is the current release.
1. Open VLC and go to Media > Convert / Save
Launch VLC. In the menu bar, click Media, then choose Convert / Save. The keyboard shortcut is Ctrl+R on Windows and Linux.
On Mac the menu layout differs slightly: go to File > Convert / Stream instead.
2. Add the WebM file
The Open Media dialog has four tabs - leave it on the File tab. Click Add, browse to your .webm file, select it, and click Open. The path appears in the file list. Now click the dropdown arrow next to the Play button at the bottom and choose Convert / Save (or just click the button if it already says that).
3. Choose the right profile and set a destination
The Convert dialog has two key fields:
- Profile - open the dropdown and select Video - H.264 + MP3 (MP4). This is the profile that produces a standard H.264 video with AAC/MP3 audio in an MP4 container. If you pick the wrong profile the output either won’t play or will have no audio.
- Destination File - click Browse, navigate to where you want to save the file, and type a filename that ends in
.mp4. VLC does not add the extension automatically, so if you typeoutputyou’ll get a file with no extension.
4. Click Start and wait for the seek bar to finish
Click Start. VLC’s main window seek bar will begin moving from left to right - this is the progress indicator for the encode, not a normal playback position. When the bar completes its run and snaps back to the start, the conversion is done.
Do not close VLC while the bar is moving. On large files (over 1-2 GB) or long clips, this can take several minutes.
Common VLC gotchas:
- Wrong profile - The default selected profile when you open the dialog may not be MP4. Always check the Profile dropdown before clicking Start.
- Missing .mp4 extension - VLC writes whatever filename you type. If the resulting file has no extension, just rename it by adding
.mp4. - Large file times - VLC encodes in software on your CPU, so a 2-hour 1080p WebM can take 15-30 minutes depending on your machine.
- The seek bar doesn’t move - This occasionally happens if VLC can’t write to the destination path. Check that you have write permission to the folder and that the filename doesn’t contain special characters.
The easier way: convert in your browser
If you’d rather not open VLC (or don’t have it installed), converter.encodehive.com/webm-to-mp4 converts WebM to MP4 directly in the browser using FFmpeg compiled to WebAssembly. Nothing is uploaded - the file stays on your device the entire time. You can verify this by enabling Airplane Mode after the page loads; the conversion still completes.
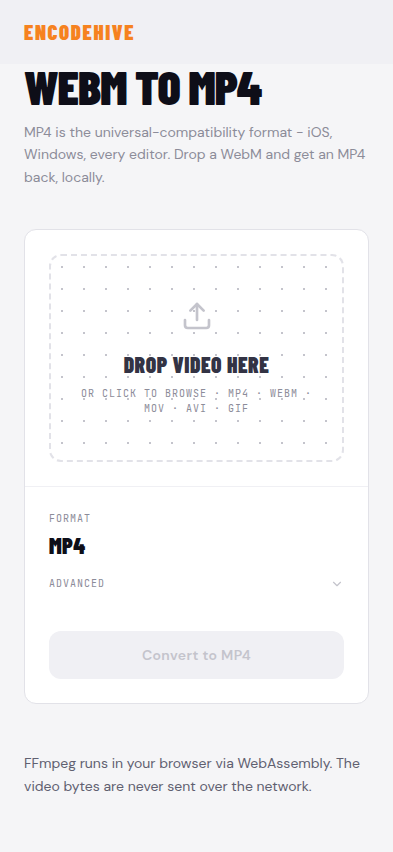
1. Open the converter
Go to converter.encodehive.com/webm-to-mp4. It works in Chrome, Firefox, Edge, and Safari on Windows, Mac, and Linux. No account, no popup, no cookie banner.
2. Drop in (or browse for) the WebM file
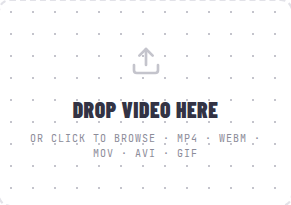
Drag your .webm file onto the dashed drop zone (“Drop video here · or click to browse”), or click inside it to open a file picker.
3. Click Convert to MP4
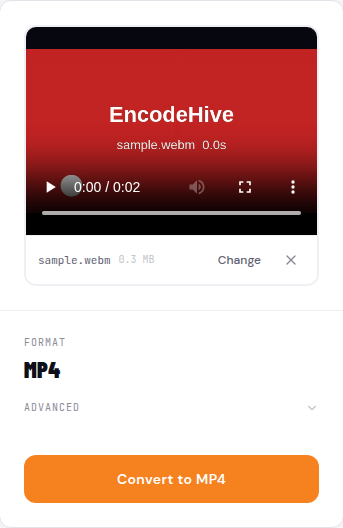
Once the file loads you’ll see the filename, size, and output format. Click Convert to MP4. Bitrate, resolution, and frame rate controls are available under Advanced if you need them, but the defaults produce good results for most files.
A progress bar tracks the encode. On a modern desktop, a 1-minute 1080p WebM finishes in under a minute.
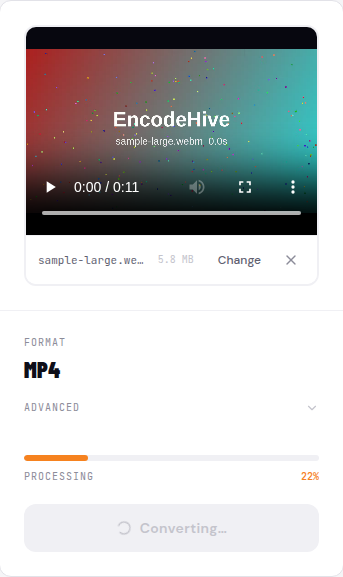
4. Download the MP4
When encoding finishes, a green badge shows the size reduction and a Download button appears.
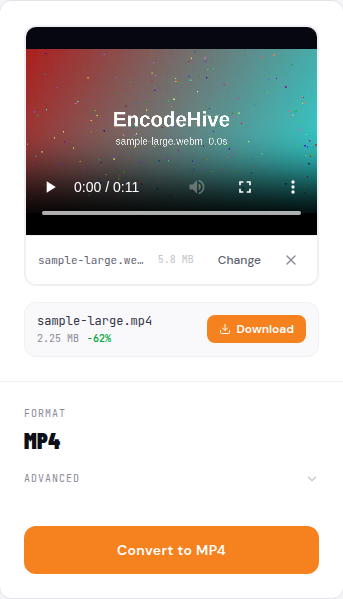
Click Download. The MP4 saves to your Downloads folder. The original WebM is untouched.
VLC is the right tool if you already have it open or are batch-converting a lot of files. The browser converter is faster for a one-off because there’s nothing to install or configure.
In Premiere Pro
If you already have the WebM in a Premiere Pro sequence and just need an MP4 export, there’s no need for a separate conversion step. Press Ctrl+M (Windows) or Cmd+M (Mac) to open Export Settings, set Format to H.264, and choose the Match Source - High Bitrate preset. Click Export to encode directly, or Queue to hand it off to Adobe Media Encoder and keep working in Premiere. The result is a standard MP4.
Troubleshooting
The VLC output has no audio. You probably selected a profile without an audio codec. Re-run using the Video - H.264 + MP3 (MP4) profile.
The browser converter runs out of memory. Files over about 2-3 GB can exceed what the browser allocates to a single tab. In that case VLC is the better choice - it streams from disk rather than loading the whole file into memory.
The MP4 plays on my computer but not on my phone. The H.264 level encoded by VLC’s default profile is occasionally too high for older mobile hardware. Re-encode using the browser converter, which targets a broadly compatible H.264 Baseline/Main profile.
Related guides
FAQ
Frequently asked
How do I convert WebM to MP4 in VLC?
Open VLC, click Media > Convert / Save, add your WebM with the Add button, pick the 'Video - H.264 + MP3 (MP4)' profile, set a destination file ending in .mp4, then click Start. The seek bar moves through the file as it encodes - wait for it to finish before closing VLC.
How do I convert WebM to MP4 on Mac without extra software?
VLC for Mac (vlc.videolan.org) is free and handles this via File > Convert / Stream. If you'd rather not install anything at all, converter.encodehive.com/webm-to-mp4 runs entirely in Safari - no upload, no install.
How do I convert WebM to MP4 in Premiere Pro?
Import the WebM into a Premiere sequence, then go to File > Export > Media (Cmd+M / Ctrl+M). In the Export Settings dialog, choose Format: H.264 and Preset: Match Source - High Bitrate, then click Export (or Queue to Adobe Media Encoder). The result is an MP4.
How do I convert WebM to MP4 without losing quality?
Re-encoding always involves some generation loss because WebM (VP9) and MP4 (H.264) are both lossy. To minimize it, use a high-bitrate H.264 preset - in VLC choose 'Video - H.264 + MP3 (MP4)' and avoid scaling the resolution down. The EncodeHive browser converter uses a high bitrate by default, so the difference is invisible at normal viewing distance.
What is the best free WebM to MP4 converter for PC?
VLC is the most trusted offline option - it's free, open-source, and needs no account. For a one-off conversion with no install at all, converter.encodehive.com/webm-to-mp4 converts in the browser on Windows, Mac, or Linux using FFmpeg-WASM. Your file never leaves your PC.
How do I convert WebM to MP4 online for free?
Go to converter.encodehive.com/webm-to-mp4 in any modern browser, drop in the WebM, click Convert to MP4, then click Download. It's free, no account, and nothing is uploaded - conversion happens locally in the browser.